Manage Members
View and manage users in your organization. The Users tab shows all organization members with their email, role, and actions.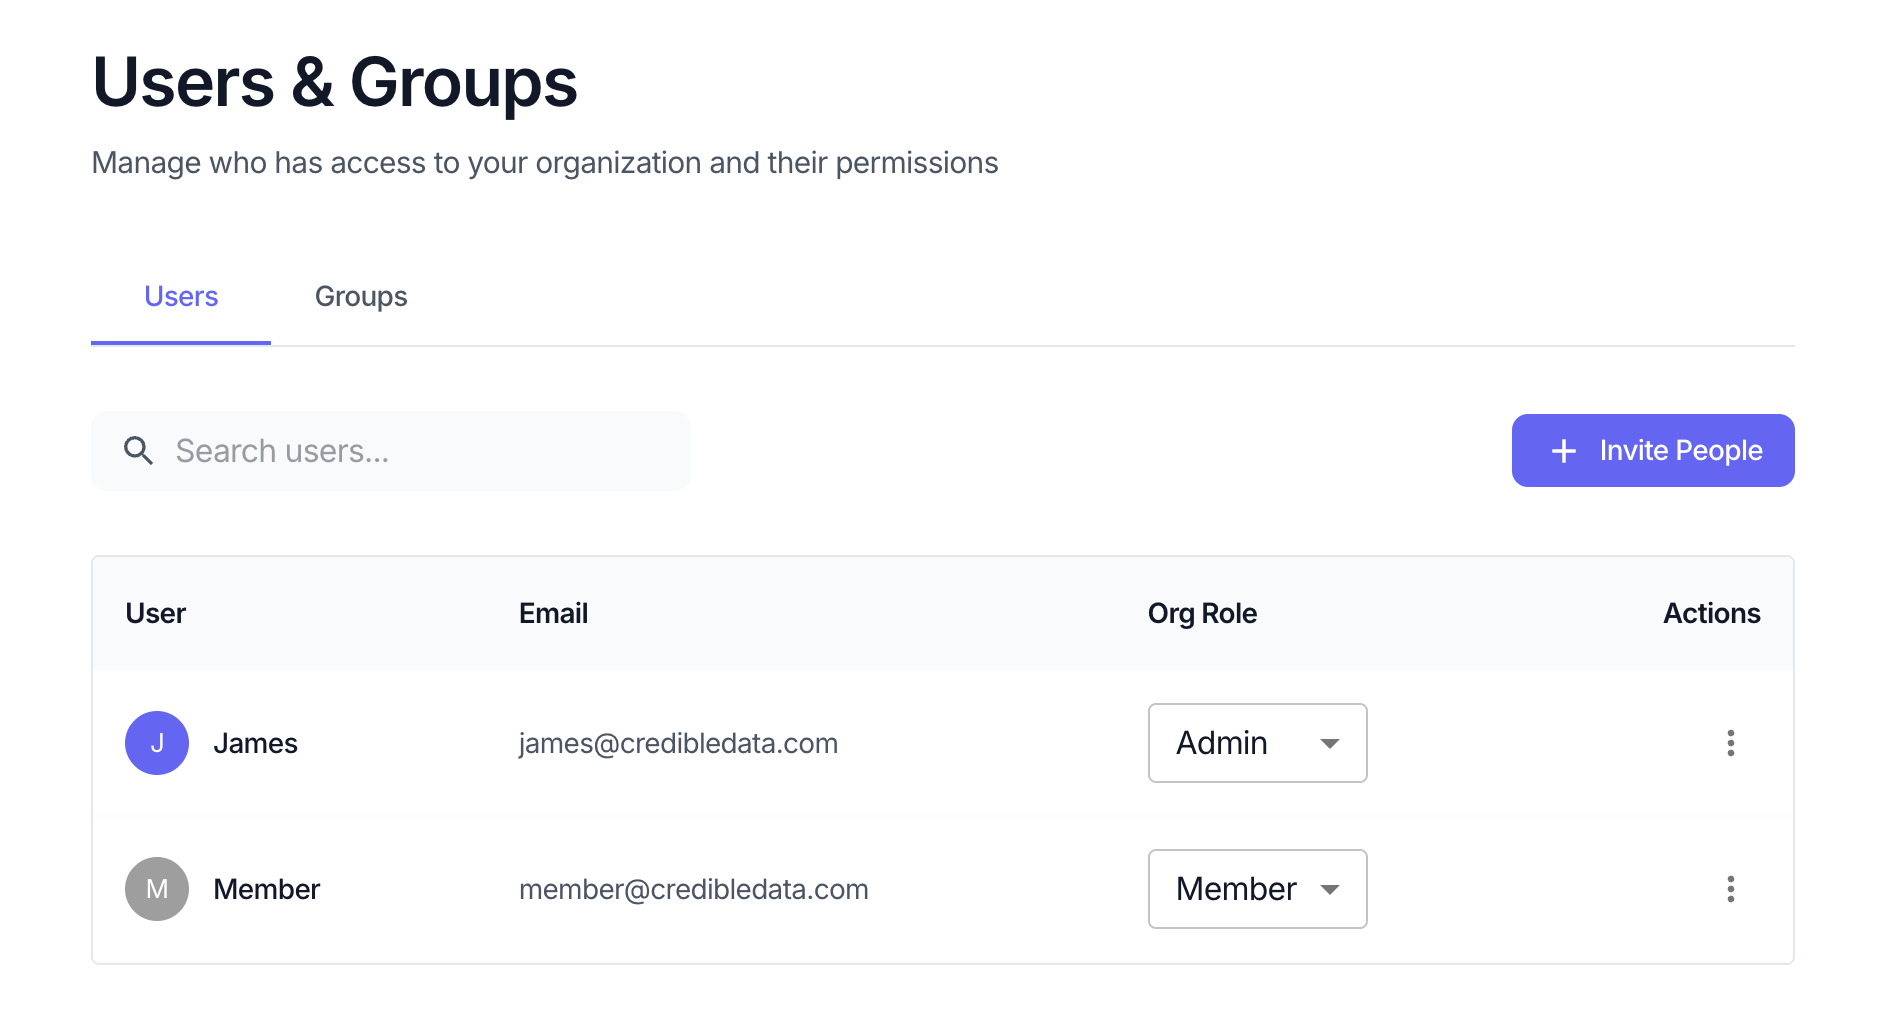
Organization Roles
An organization role sets what someone can do overall — access to specific environments, packages, and workspaces is granted separately (see Permissions).
Actions
- Invite — Send an email invitation to add a new user to your organization
- Edit role — Change a user’s role between Admin, Modeler, and Member
- Remove — Remove a user from the organization
Manage Groups
Groups let you manage permissions for multiple users at once. Instead of granting access to individual users, organize users into groups and grant access to the group. Switch to the Groups tab to view and manage groups. Click a group to view its members and manage membership.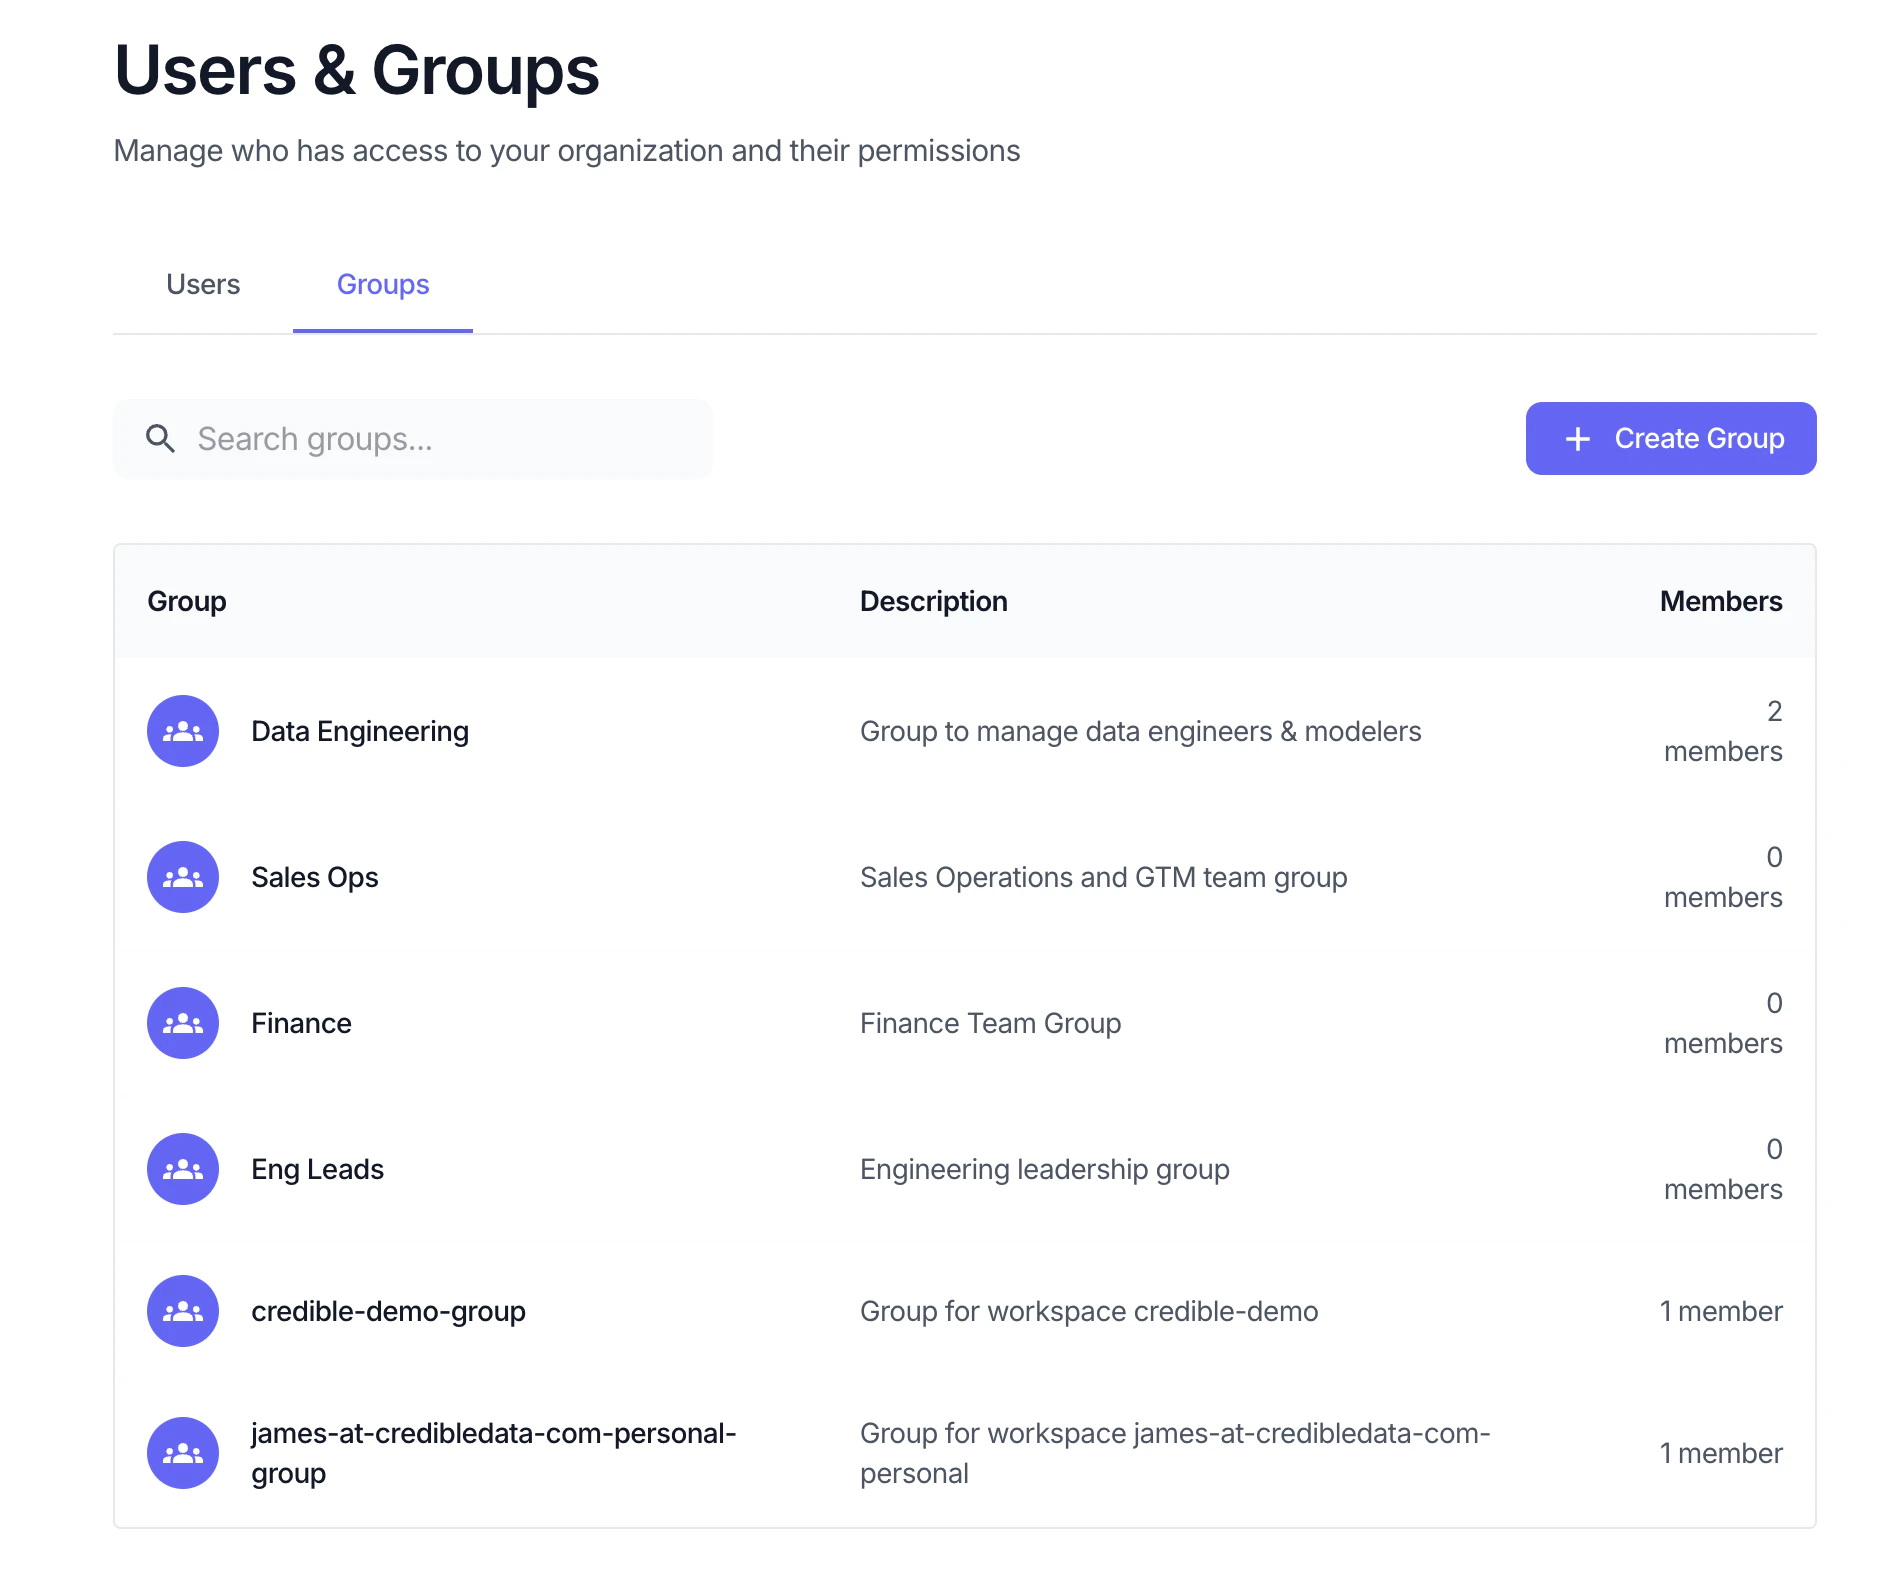
Group Roles
Actions
- Create Group — Create a new group with a name and description
- Add members — Add users or other groups to a group
- Remove members — Remove users or groups from a group
- Delete Group — Remove the group (does not affect individual user accounts)
Group Access Tokens (API Keys)
A group can hold access tokens — API keys that let applications and services act with the group’s permissions. Because the key’s access is the group’s access, you can adjust or revoke what an integration can reach by editing the group, without touching the key itself. Create and manage tokens with the CLI (cred add group-access-token), and see API Access for the full setup.
Next Steps
Permissions
Grant users and groups access to environments, packages, workspaces, and documents
API Access
Authenticate applications with group access tokens